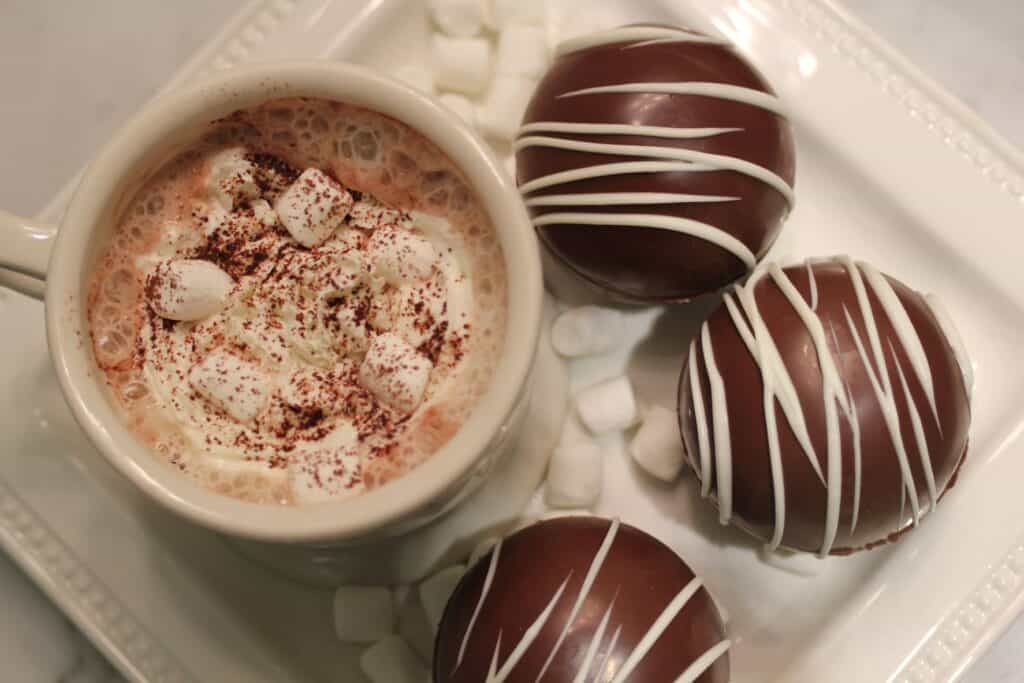
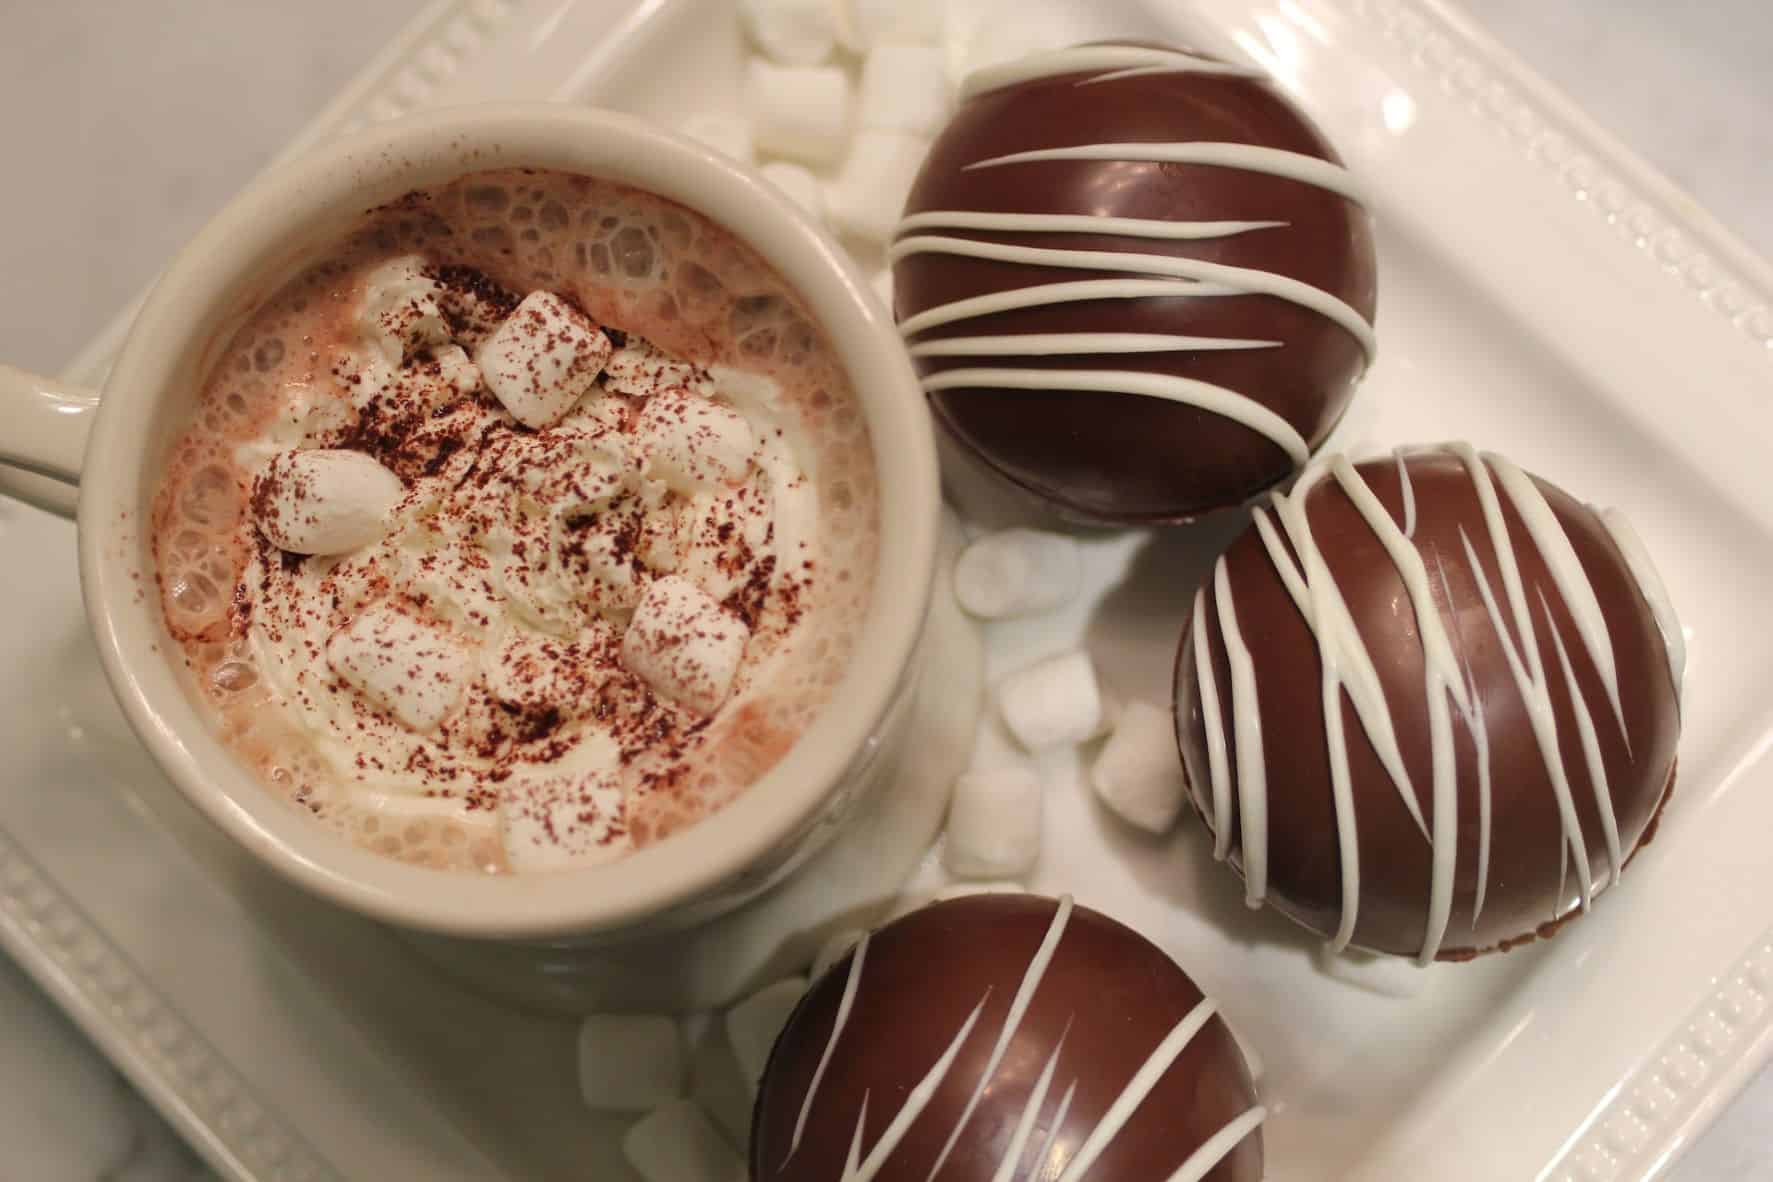
Who doesn’t love hot cocoa? Last year, my daughter and I tried our hand at making healthier hot cocoa bombs. AKA, hot cocoa bombs without artificial dyes or flavors and with less sugar. It was so much fun, and they were delicious!

This post contains affiliate links. I may earn a small commission from qualifying purchases.
Don’t worry, I’m not here to ruin your hot cocoa ;). These cocoa bombs are still plenty sweet, and your kids won’t notice that they are ever so slightly healthier than traditional hot cocoa bombs.
Hot cocoa bombs make an awesome gift, stocking stuffer or just fun activity to do with your kids. You may want to try a batch on your own before trying it with your kids. There are several tricks and tips you will learn along the way to make the cocoa bombs easier to make.
Why You Want to Avoid Synthetic Dyes
As you likely know, synthetic dyes are not particularly healthy and have strong effects some of us, especially children. Synthetic dyes are derived from petroleum and linked to many adverse behavioral reactions like ADHD, hyperactivity, depression and irritability. They also contain benzene, which is a known carcinogen.
These days, it’s not very hard to find dye free alternatives to almost any item, so why not?! Aldi (some items), Trader Joe’s and Whole Food do a great job at skipping the artificial dyes. In this post, I’ll highlight how to I avoid dyes in the cocoa bomb ingredients.
Supplies You Will Need
Silicone Molds
I try really hard to use trustworthy brands in my kitchen. Some items are just plain hard to find from a reputable source. Williams Sonoma carries cocoa bomb molds, but they are double the price and still made in China just like the molds from Amazon, so it’s hard to say if they’re worth it or not. Wherever you choose to buy the molds, look for a BPA-free and food-grade silicone option.
Spatula & Mini Brush
Some cocoa bomb kits will come with these, or you can just use what you have in your kitchen. I currently have the OXO brand silicone spatula and a small pastry brush, that I have had a long time. It’s about 1/2 inch in size, and I’m honestly not sure where it came from.
You will use the spatula to mix the melting chocolate and spread it up on the sides of the mold. You can get by with just a small spatula, but a little brush is a great tool to get any tiny spots you may have missed especially on the second coat. Yes, there are two coats!
Medium Stainless-Steel Pot & Glass Bowl
You can use any medium pot to boil water. Anchor Hocking is my glass bowl of choice. You will use the pot and a glass bowl to create a double boiler. You can melt the chocolate in the microwave, but it is much harder to control the temperature, so I recommend the stovetop method.
Candy Thermometer
You will need this to keep the chocolate at the correct temperature, which ideally is between 87 and 91 degrees. There can be some back-and-forth between the stovetop to the counter to keep the chocolate from cooling too much.
If you get the chocolate too hot, the cocoa bomb will be streaky and melty to the touch. While this may be o.k. at home, you probably want to avoid this when gifting cocoa bombs. On the other hand, if the chocolate cools too much it will become thick and not spread properly.
Real Food Hot Cocoa Bomb Ingredients
Chocolate
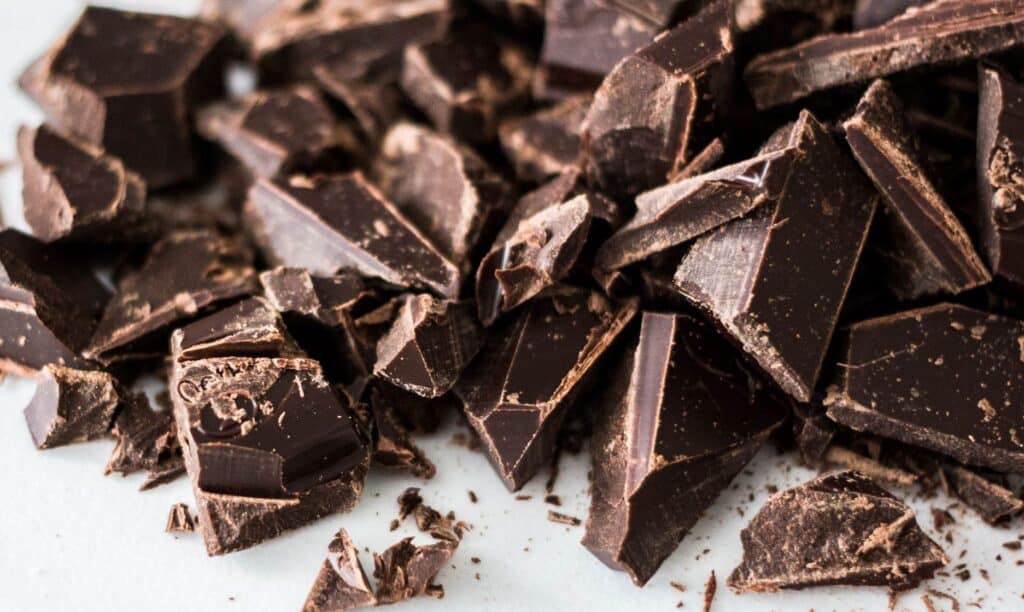
You need a high-quality dark chocolate. It’s tempting to use regular chocolate chips, and they will work in a pinch, but the experts say to stick to high-quality chocolate bars or couverture chocolate varieties (fancy name for high-quality chocolate).

I started with Aldi’s Choceur European chocolate bars. For the quality, you can’t beat the price. We quickly moved to Callebaut Belgian Dark Couverture Chocolate Semisweet Callets, 54.5%, because we could get it in bulk, and it was in chip/melt form, so we didn’t have to chop the chocolate.
I believe it actually ended up being slightly cheaper than the Aldi chocolate bars, so if you need a bunch, it’s a great way to go. You want a cocoa content of around 50-70% for the shell of the cocoa bomb. Obviously, the darker you go, the less sugar the chocolate contains. So, if you are looking to keep sugar at a minimum, go with the 70% dark chocolate.
Unsweetened Cocoa Powder
Any pure baking cocoa will work. Organic is always a great choice if you can swing it, but if you are baking in bulk like we were, I understand maybe not wanting to spend the extra money on an occasional treat. Many cocoa brands will now say “sustainably sourced,” which is a great for the environment.
Cane Sugar & Confectioner’s Sugar
I rarely have white sugar in the house, but for the cocoa bombs, plain white sugar and confectioner’s sugar is the way to go. You can absolutely cut the amount in half and still have a tasty hot cocoa mix.
If you live in the south like me, you know we tend to use more sugar than you can actually taste in desserts ;). I don’t typically use stevia or similar alternatives, but they should work just fine as replacements if needed.
Since you will be making the cocoa mix ahead, there is not an easy way to use a liquid sweetener like maple syrup or honey, which is what I usually use to make homemade hot cocoa at home.
Powdered Milk
Most powdered milks contain basically the same ingredients. Just make sure there is nothing sneaky lurking. Powdered milk tends to be non-fat in case you are like I was and searching for full-fat powdered milk. You can find a whole milk option, it’s just not as common. NOW makes an organic option, if you’d like one.
Dye Free Mini Marshmallows
Did you know that white marshmallows almost always contain blue dyes? So odd, I know! It makes them bright white as opposed to regular white I suppose (he, he!). We purchase our marshmallows from Whole Foods. Thankfully, even organic, dye free marshmallows won’t break the bank. On a tight budget? The Great Value brand from Wal-Mart is dye free.
You can make cocoa bombs with the regular-sized marshmallows, but I prefer the smaller ones. You can’t fit many big marshmallows in a cocoa bomb, and they tend to press against the top and pull the sphere apart while you are trying to seal it. You can do it (I have), but mini marshmallows make for easier work.
Decorating the Cocoa Bomb
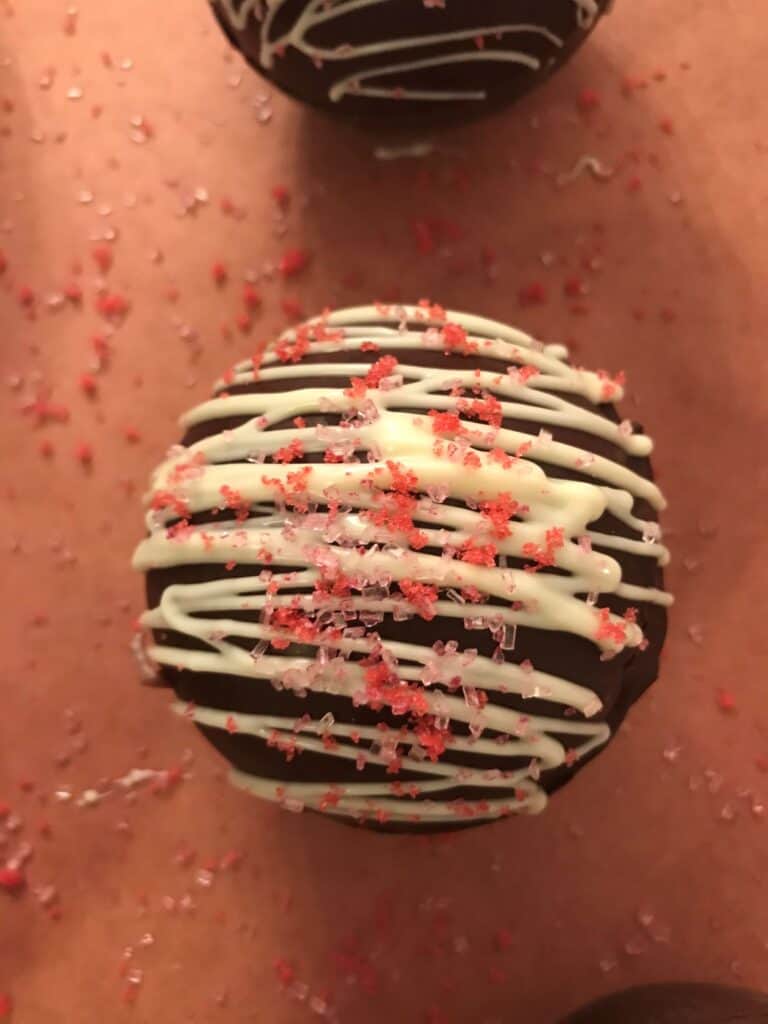
This is another place where you often see synthetic dyes. We used a Choceur white chocolate from Aldi and sugar crystals, homemade sugar and sprinkles to decorate our cocoa bombs. The sprinkles and sugar crystals I simply purchased from Whole Foods. Warning, they do not have bright colors! Natural dyes tend to be muted in color.

I was able to make fairly bright red sugar (see above) by mixing white sugar with Whole Foods plant-based food coloring. You just mix the sugar with a few drops of dye and let it dry. You can store any left-over sugar in an air-tight container and use on the next batch.
Now that we’ve covered what you’ll need and how to avoid artificial dyes in your cocoa bombs, here is the recipe for a simple hot cocoa mix to get you started making your healthier hot cocoa bombs.

Simple Reduced Sugar Hot Cocoa Mix
Ingredients
Equipment
Method
- Pour all ingredients directly into the container you plan to store it in.
- Mix ingredients up with a spoon or put the lid on and shake it.
- Add 2 TB of mix to a cup of hot water or inside a cocoa bomb.

Hot Cocoa Bombs with Cleaner Ingredients
Ingredients
Equipment
Method
- Add water to a medium pot and place glass bowl on top of it. Wait for it to boil.
- Add chopped dark chocolate to the glass bowl and turn heat to low. If the chocolate is melting quickly, set it aside on a potholder briefly. Stir chocolate gently with a spatula.
- Keep the chocolate between 87°F and 91°F. This can be tricky so keep the thermometer handy and adjust accordingly.
- Once you have the chocolate at the right temperature, remove from heat. Use your spatula or small brush to coat the half spheres with chocolate. Be sure not to miss a spot. Brush the chocolate just up over the lip of the opening.
- Once the half spheres are coated well, put the mold in the freezer for at least 5 minutes. Put the melted chocolate back on the stovetop or warmer to keep at correct temperature.
- Two coats work best, so remove molds from freezer and repeat the process adding a second layer of chocolate. This makes the shells stronger, which cuts down on cracking.
- Take the mold out of the freezer again and gently push the chocolate out of the molds from the bottom/middle of each one.
- You should now have 6 cocoa bomb halves. Fill 3 of them with 2TB of hot cocoa mix and 1 TB of mini marshmallows.
- Spoon some melted chocolate onto a plate and press the rim of one half in the melted chocolate and rotate it gently (coating entire rim). Stick this half to a half with cocoa mix in it. Take your finger and gently smooth the chocolate around the seam. If you have small holes or cracks, dab melted chocolate into them.
- Gently place the sealed cocoa bombs on parchment paper. A deviled egg dish is a great place to let them dry also, so they won't roll. Let them dry for at least 15 minutes.
- Melt your white or dark chocolate to drizzle on them. You can use a decorating bag, fork or Ziplock bag to drizzle the icing on. Add your sugars or sprinkles quickly before the fresh chocolate dries.
- Let them dry at least 30 minutes before moving them. More like 45 minutes if you are putting them into little bags.
Now, you have delicious healthier hot cocoa bombs and cocoa bombs without dyes for anyone in your life who is watching sugar intake or eating a dye free diet!
There is definitely a learning curve when making hot cocoa bombs. One of the most helpful things I did was watch a few cocoa bomb tutorials on YouTube. I ended up combining strategies after testing out several different methods.
Unless you are an experienced baker, the first few batches may be filled with trial and error, but hopefully it will be smooth sailing after that. Cleaning up your holiday routine? Be sure to check out my healthier pecan pie recipe.